Save with a do-it-yourself kit
From planning to the storage heating stove kit
The procedure is identical to any of our stove planning services: Together with you, we design your individual storage heating stove, look at (or plan) the existing conditions such as the foundation and chimney, create the appropriate heat requirement calculation and thus calculate your storage heating stove kit in all its parts. Of course, the manufacturer’s TÜV certificate applies to all parts of the kit, as does our „eternity certificate“ for the firebricks.
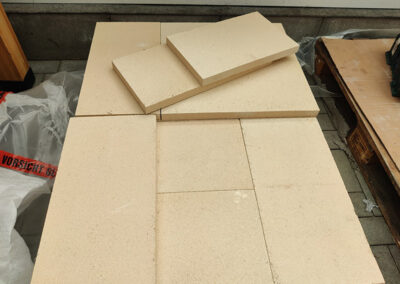
The result of our joint planning is sent as an order to our supplier ambio, who assembles all the necessary parts and delivers them on approx. 2 pallets, depending on the size of the planned storage stove.
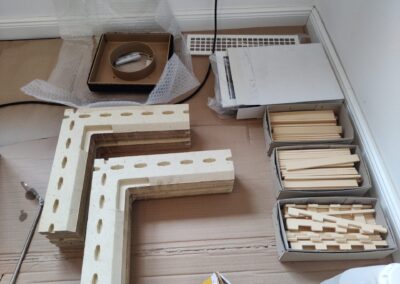
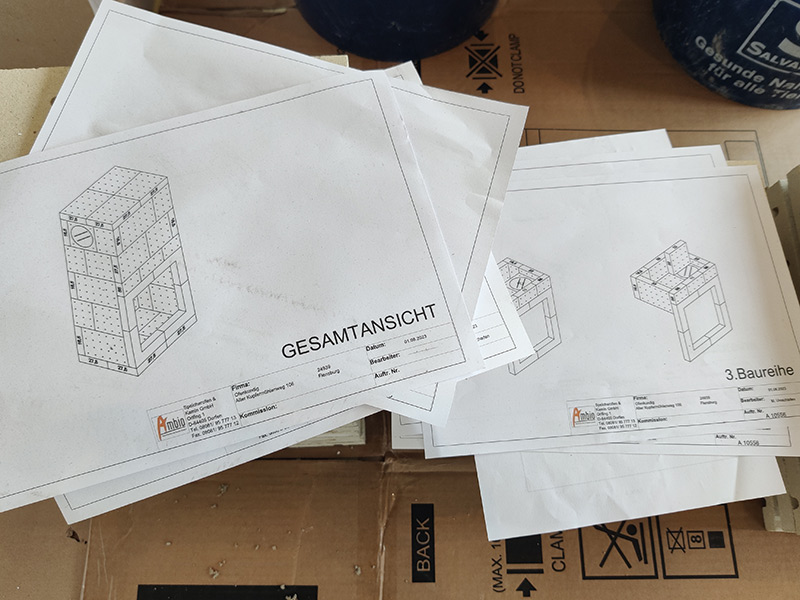
Our detailed assembly instructions show you exactly where each individual fireclay brick is to be placed. All the necessary accessories such as thermal adhesive, metal clips and other connecting pieces are of course also included.
If the new storage stove is to replace an old, possibly still open fireplace or another stove, this must be removed before the construction site is set up. Make it a family event and get everyone involved!
Why choose a storage heating stove in a do-it-yourself kit?
- Cost savings: Use your craftsmanship to save on the labor costs for a professional stove builder.
- Craftsmanship experience: Become the master builder of your own heating experience and enjoy the satisfaction of having created something with your own hands. Get your family and friends involved!
- Individual design: Whether it’s an additional bench, a shelf or an attached wood store – with a DIY kit, you can design your stove according to your wishes and needs.
- Unique sense of achievement: What you have built with your own hands is particularly close to your heart. You know every stone and every step of the process. This is a lasting experience.
THe ofenkundig DIFFERENCE
- Heat requirement calculation & detailed planning: We plan your storage heating stove down to the smallest detail and provide you with detailed instructions for installation.
- Support with questions: Whether during the planning phase or during installation – our team is always at your side.
- Preparation for acceptance by the chimney sweep: You keep a supervised „construction diary“ with photo documentation so that the chimney sweep can check that the installation has been carried out correctly.
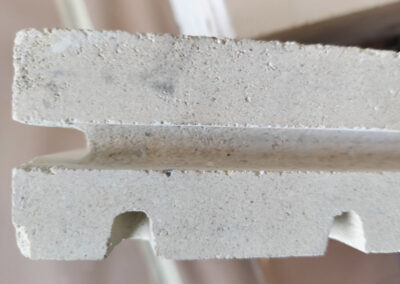
- A large puzzle: Our sophisticated modular system is like a puzzle. Every piece fits perfectly through our tongue and groove system.
Example of the construction of a storage heating stove in a do-it-yourself kit
In this video, which our ambio colleague filmed with the TV program Galileo (2010), we follow a couple who assembled their ambio DIY storage heating stove kit over the course of a weekend. Please note that this video is from 2010 and the prices mentioned in it are no longer valid.
This is what you can expect (approximately) when building a storage heating stove in a do-it-yourself kit
1. Preparation:
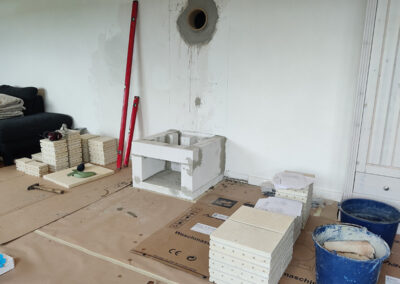
– Building a tiled stove requires precision and time. An experienced stove builder usually needs at least two days for such a project. Allow three or more days and prepare the construction site in advance. Cover the construction site area to keep the floor clean, place all the parts within easy reach in the order in which they are to be built and then get started.
2. Construction:
– Construction: First, the foundation is laid, which can support up to 1 or 1.5 tons of oven. This may be a construction step that can be tackled before the stove parts are delivered. We discuss this in detail in advance.
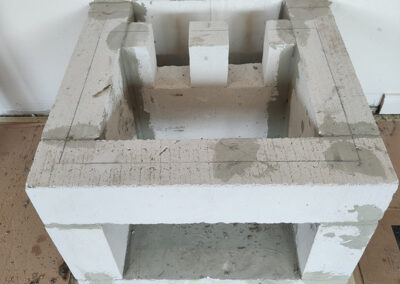
– The stove base is placed on the foundation, onto which the stones of the combustion chamber, the so-called 1st layer, are then placed. It is very important that the stove pipe is positioned correctly, as it must be absolutely tight. It is worth taking a close look and checking here. Once the combustion chamber and the stove pipe have been installed, the 50 components of the outer shell, the 2nd layer, follow.
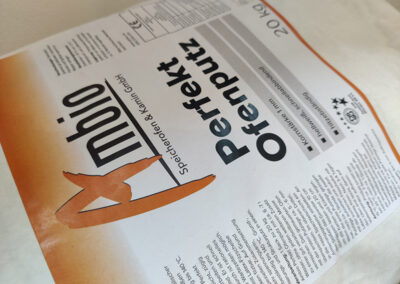
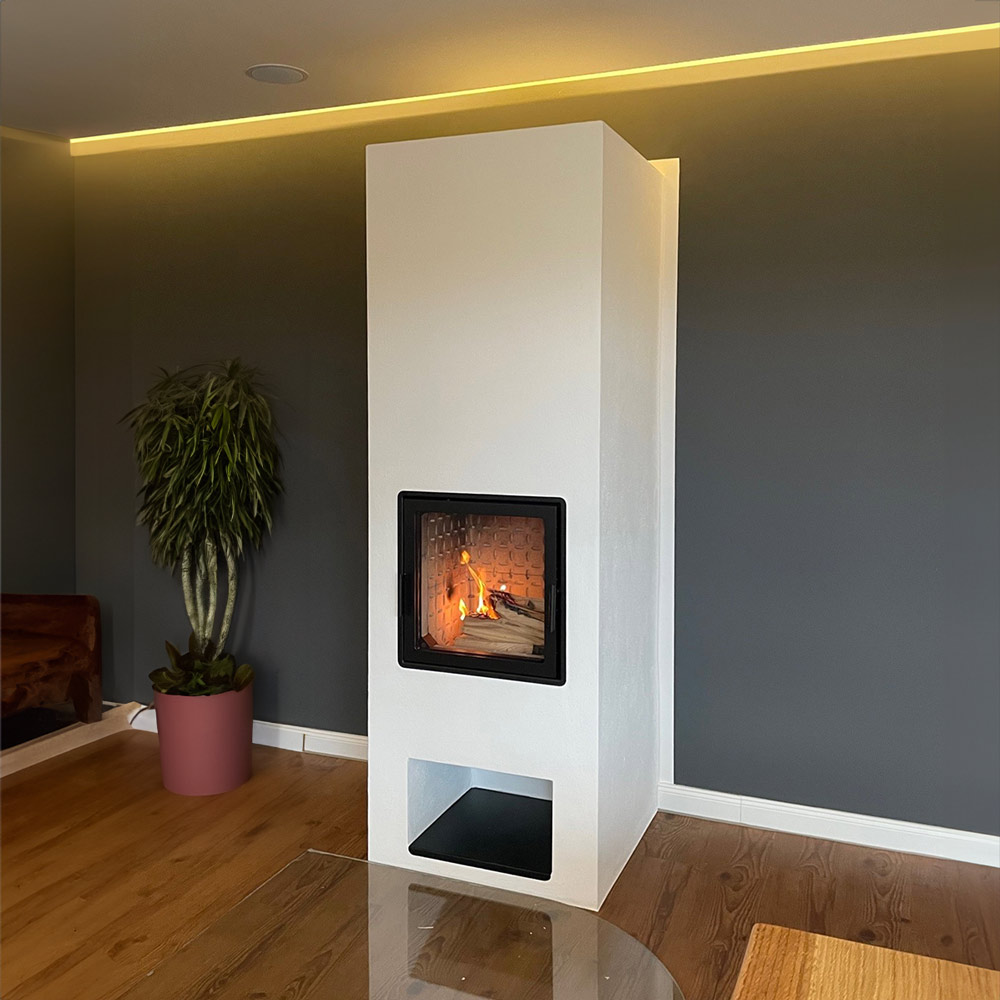
– Plastering: The stove is plastered with white cement plaster in two layers. An inner layer is applied first, followed by a mat of fiberglass mesh to even out any unevenness. A further layer of ambio stove plaster is then applied.
– In this stove example, tiles are still used as a design element
– You can add further conversions, seating areas or wood storage – there are no limits to your creativity.


